Unlock Silky Chocolate: Essential Methods for Home Bakers
There's a certain magic that happens when solid chocolate transforms into a glistening, liquid dream. From elegant chocolate-dipped strawberries to a decadent ganache for a show-stopping cake, silky-smooth melted chocolate is the foundation of countless irresistible desserts. For many home bakers, however, the process of melting chocolate can feel like a high-wire act – one wrong move and your beautiful chocolate can turn into a grainy, seized, or burnt mess. But fear not! Mastering how to melt chocolate is a fundamental skill that, once learned, will open up a world of confectionery possibilities.
This comprehensive guide will walk you through the most reliable methods for melting chocolate, offering insights, tips, and tricks to ensure a perfect, glossy finish every time. We'll explore two primary techniques: the gentle, controlled warmth of a double boiler and the quick convenience of the microwave. While both have their merits, understanding the nuances of each will empower you to choose the best approach for your baking needs and achieve truly professional results.
The Art of Melting Chocolate: Why Precision Matters
Why is melting chocolate such a delicate dance? Chocolate is a complex emulsion of cocoa solids, cocoa butter (fat), sugar, and sometimes milk solids. Cocoa butter is particularly sensitive to temperature and moisture. Overheating it can cause the fat and solids to separate, leading to a grainy, dull texture, or even burning. Introducing even a tiny drop of water can cause the chocolate to "seize," turning it into a thick, clumpy, unworkable paste. Achieving that perfect, fluid consistency requires careful control over heat and a strict avoidance of moisture.
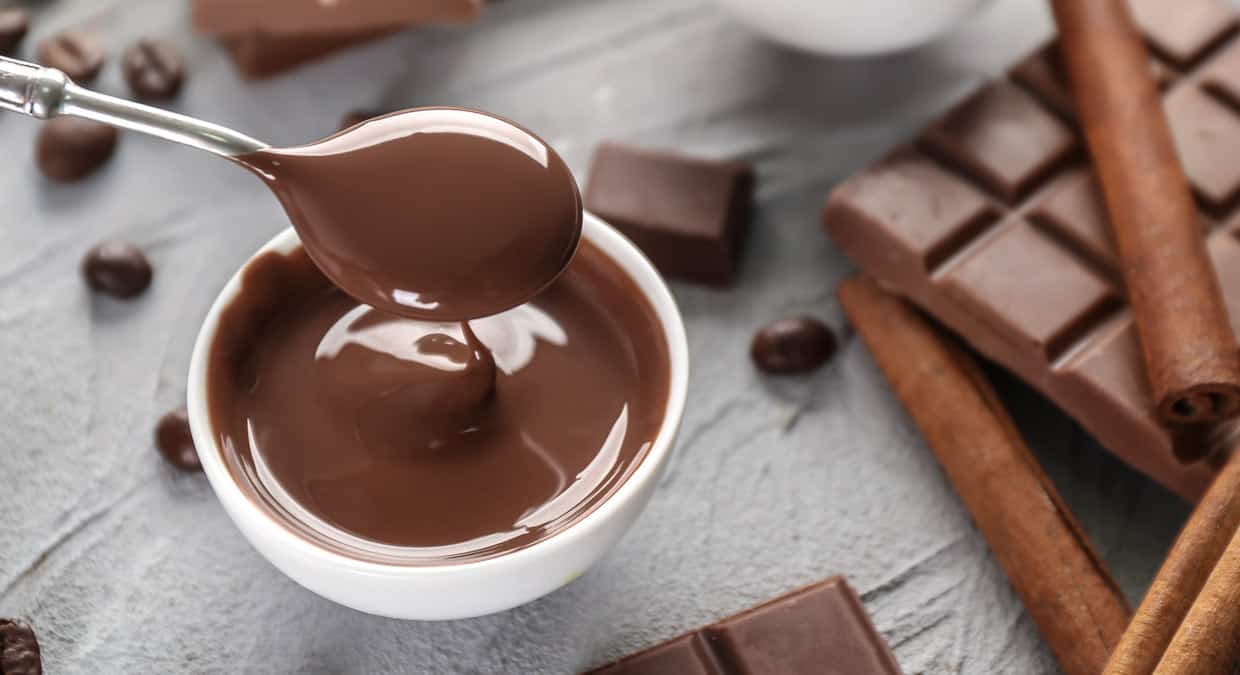
A perfectly melted batch of chocolate should be smooth, glossy, and pourable, without any lumps or signs of separation. This isn't just about aesthetics; the texture of your melted chocolate directly impacts the mouthfeel and overall success of your final dessert. Whether you're making a rich hot fudge sauce, coating truffles, or incorporating it into a mousse, the initial melt sets the stage for perfection.
Method 1: The Gentle Embrace of a Double Boiler (Bain Marie)
The double boiler, also known as a bain marie, is the gold standard for melting chocolate. This traditional technique relies on indirect heat, using steam from simmering water to gently warm the chocolate. This gradual, controlled heating prevents burning and ensures an incredibly smooth, consistent melt.
Step-by-Step Guide to Melting Chocolate with a Double Boiler:
- Preparation is Key: Chop Your Chocolate. Start by finely chopping your chocolate into small, uniform pieces. This ensures that the chocolate melts evenly and quickly. Smaller pieces have more surface area, allowing them to absorb heat at the same rate, preventing some pieces from melting while others remain solid.
- Set Up Your Double Boiler. Find a heat-safe bowl (preferably glass or stainless steel) that fits snugly over a saucepan without touching the bottom. The bowl should create a good seal, trapping the steam effectively. Fill the saucepan with 1-2 inches of water – just enough so it won't evaporate too quickly, but not so much that it touches the bottom of the upper bowl.
- Heat the Water. Place the saucepan on your stovetop and bring the water to a gentle simmer, not a rolling boil. Excessive boiling can generate too much steam pressure or cause the water to splash.
- Begin the Melt. Once the water is simmering, place the bowl with your chopped chocolate on top of the saucepan. The steam rising from the hot water will gently and indirectly heat the bottom of the bowl, melting the chocolate.
- Stir Continuously. As the chocolate begins to soften, stir it frequently with a dry rubber spatula or spoon. This promotes even melting and helps distribute the heat. Continue stirring until the chocolate is about 75-80% melted.
- Remove and Finish. Once most of the chocolate has melted, remove the bowl from the saucepan. The residual heat will continue to melt the remaining pieces as you stir, bringing it to a perfectly smooth, glossy consistency. This step is crucial for preventing overheating.
- Wipe Away Moisture. Immediately after removing the bowl, wipe the bottom thoroughly with a clean, dry towel to remove any condensation or water droplets. Even a tiny amount of water can cause your beautifully melted chocolate to seize.
Expert Tip for Double Boilers: Patience is a virtue here. Resist the urge to turn up the heat too high. A slow, steady melt is the secret to preventing separation and achieving that coveted silky texture. This method is particularly recommended for sensitive chocolates like white chocolate or milk chocolate, which have higher sugar and milk solid content, making them more prone to burning.
Method 2: The Speed and Convenience of the Microwave
When time is of the essence, the microwave offers a quick and convenient way to melt chocolate. However, this method demands close attention and careful technique to avoid burning or overheating.
Step-by-Step Guide to Melting Chocolate in the Microwave:
- Chop for Success. Just like with the double boiler, finely chop your chocolate into small, uniform pieces. This is even more critical for microwave melting to ensure even heating and prevent hotspots.
- Choose the Right Bowl. Place your chopped chocolate in a microwave-safe bowl. Glass or ceramic bowls work best.
- Microwave in Short Bursts. Start by microwaving the chocolate on 50% power for 30 seconds. This lower power setting helps prevent scorching.
- Stir and Repeat. After 30 seconds, remove the bowl and stir the chocolate thoroughly, even if it doesn't look melted. The heat distributes unevenly in a microwave, so stirring is essential. Return the bowl to the microwave and continue heating in 15-20 second intervals, stirring well after each interval.
- Utilize Residual Heat. Continue microwaving and stirring until the chocolate is about 75% melted, with a few small lumps remaining. Remove it from the microwave and stir continuously. The residual heat in the bowl and the already melted chocolate will finish the job, bringing it to a perfectly smooth consistency. This prevents overheating and gives you more control over the final texture.
Microwave Mastery Tips: Never leave chocolate unattended in the microwave. It can go from perfectly melted to burnt and unusable in a matter of seconds. Err on the side of caution with shorter heating intervals. If you notice any signs of burning (a strong burnt smell, a grainy texture, or a dull appearance), it's best to start over. To learn more about preventing burnt chocolate, check out our guide on Avoid Burnt Chocolate: The Secrets to Perfectly Melted Chocolate.
Beyond the Basics: Essential Tips for Flawless Melts
Achieving truly magnificent melted chocolate goes beyond just the method. Here are additional insights and practical advice:
- Quality of Chocolate Matters: Higher quality chocolate, especially couverture chocolate, contains a higher percentage of cocoa butter, making it melt more smoothly and achieve a better temper. While you can melt regular baking chocolate or chips, premium chocolate will yield superior results in terms of taste and texture.
- Bone Dry Equipment: We cannot stress this enough: any equipment that comes into contact with your chocolate – bowls, spatulas, spoons – must be absolutely, impeccably dry. Even a single drop of water can cause seizing, turning your smooth chocolate into a grainy, unworkable mess.
- Temperature Control is Key: For most applications, melted chocolate is best used when it's just barely melted and still warm to the touch, around 90-100°F (32-38°C). Overheating not only risks burning but can also affect the chocolate's temper if you're working with tempering in mind.
- What to Do if Chocolate Seizes: If your chocolate seizes due to water contact, it's not entirely lost for all uses. You can sometimes salvage it by stirring in 1 teaspoon of vegetable oil or melted butter for every 6 ounces of chocolate. This won't fully restore its original texture or tempering properties, but it might make it usable for a sauce or brownies where texture is less critical. Never add more water to seized chocolate!
- Adding Flavorings: If you plan to add extracts (like vanilla or peppermint), liqueurs, or other flavorings, stir them in after the chocolate is fully melted. Ensure any liquid flavorings are fat-based or added in very small quantities to avoid seizing.
- Troubleshooting Thick Chocolate: If your melted chocolate seems too thick, resist the urge to add water. Instead, stir in a tiny amount (1/2 to 1 teaspoon) of neutral oil (like grapeseed or canola) or melted cocoa butter until the desired consistency is reached.
Understanding the strengths and weaknesses of both microwave and double boiler methods will empower you to choose the best technique for your recipe. For a deeper dive into the direct comparison, explore our detailed guide: Melt Chocolate Like a Pro: Microwave vs. Double Boiler Guide.
Conclusion
Melting chocolate is a fundamental skill that every home baker can easily master with a little practice and patience. Whether you opt for the steady, gentle heat of a double boiler or the rapid convenience of a microwave, remembering to chop your chocolate finely, use dry equipment, and monitor heat closely are your keys to success. By following these essential methods and expert tips, you'll consistently achieve beautifully smooth, glossy, and perfectly melted chocolate, ready to elevate your desserts from delightful to truly divine. So go ahead, unlock the silky potential of chocolate in your own kitchen and prepare to impress!
